Turmeric Sweet Potatoes
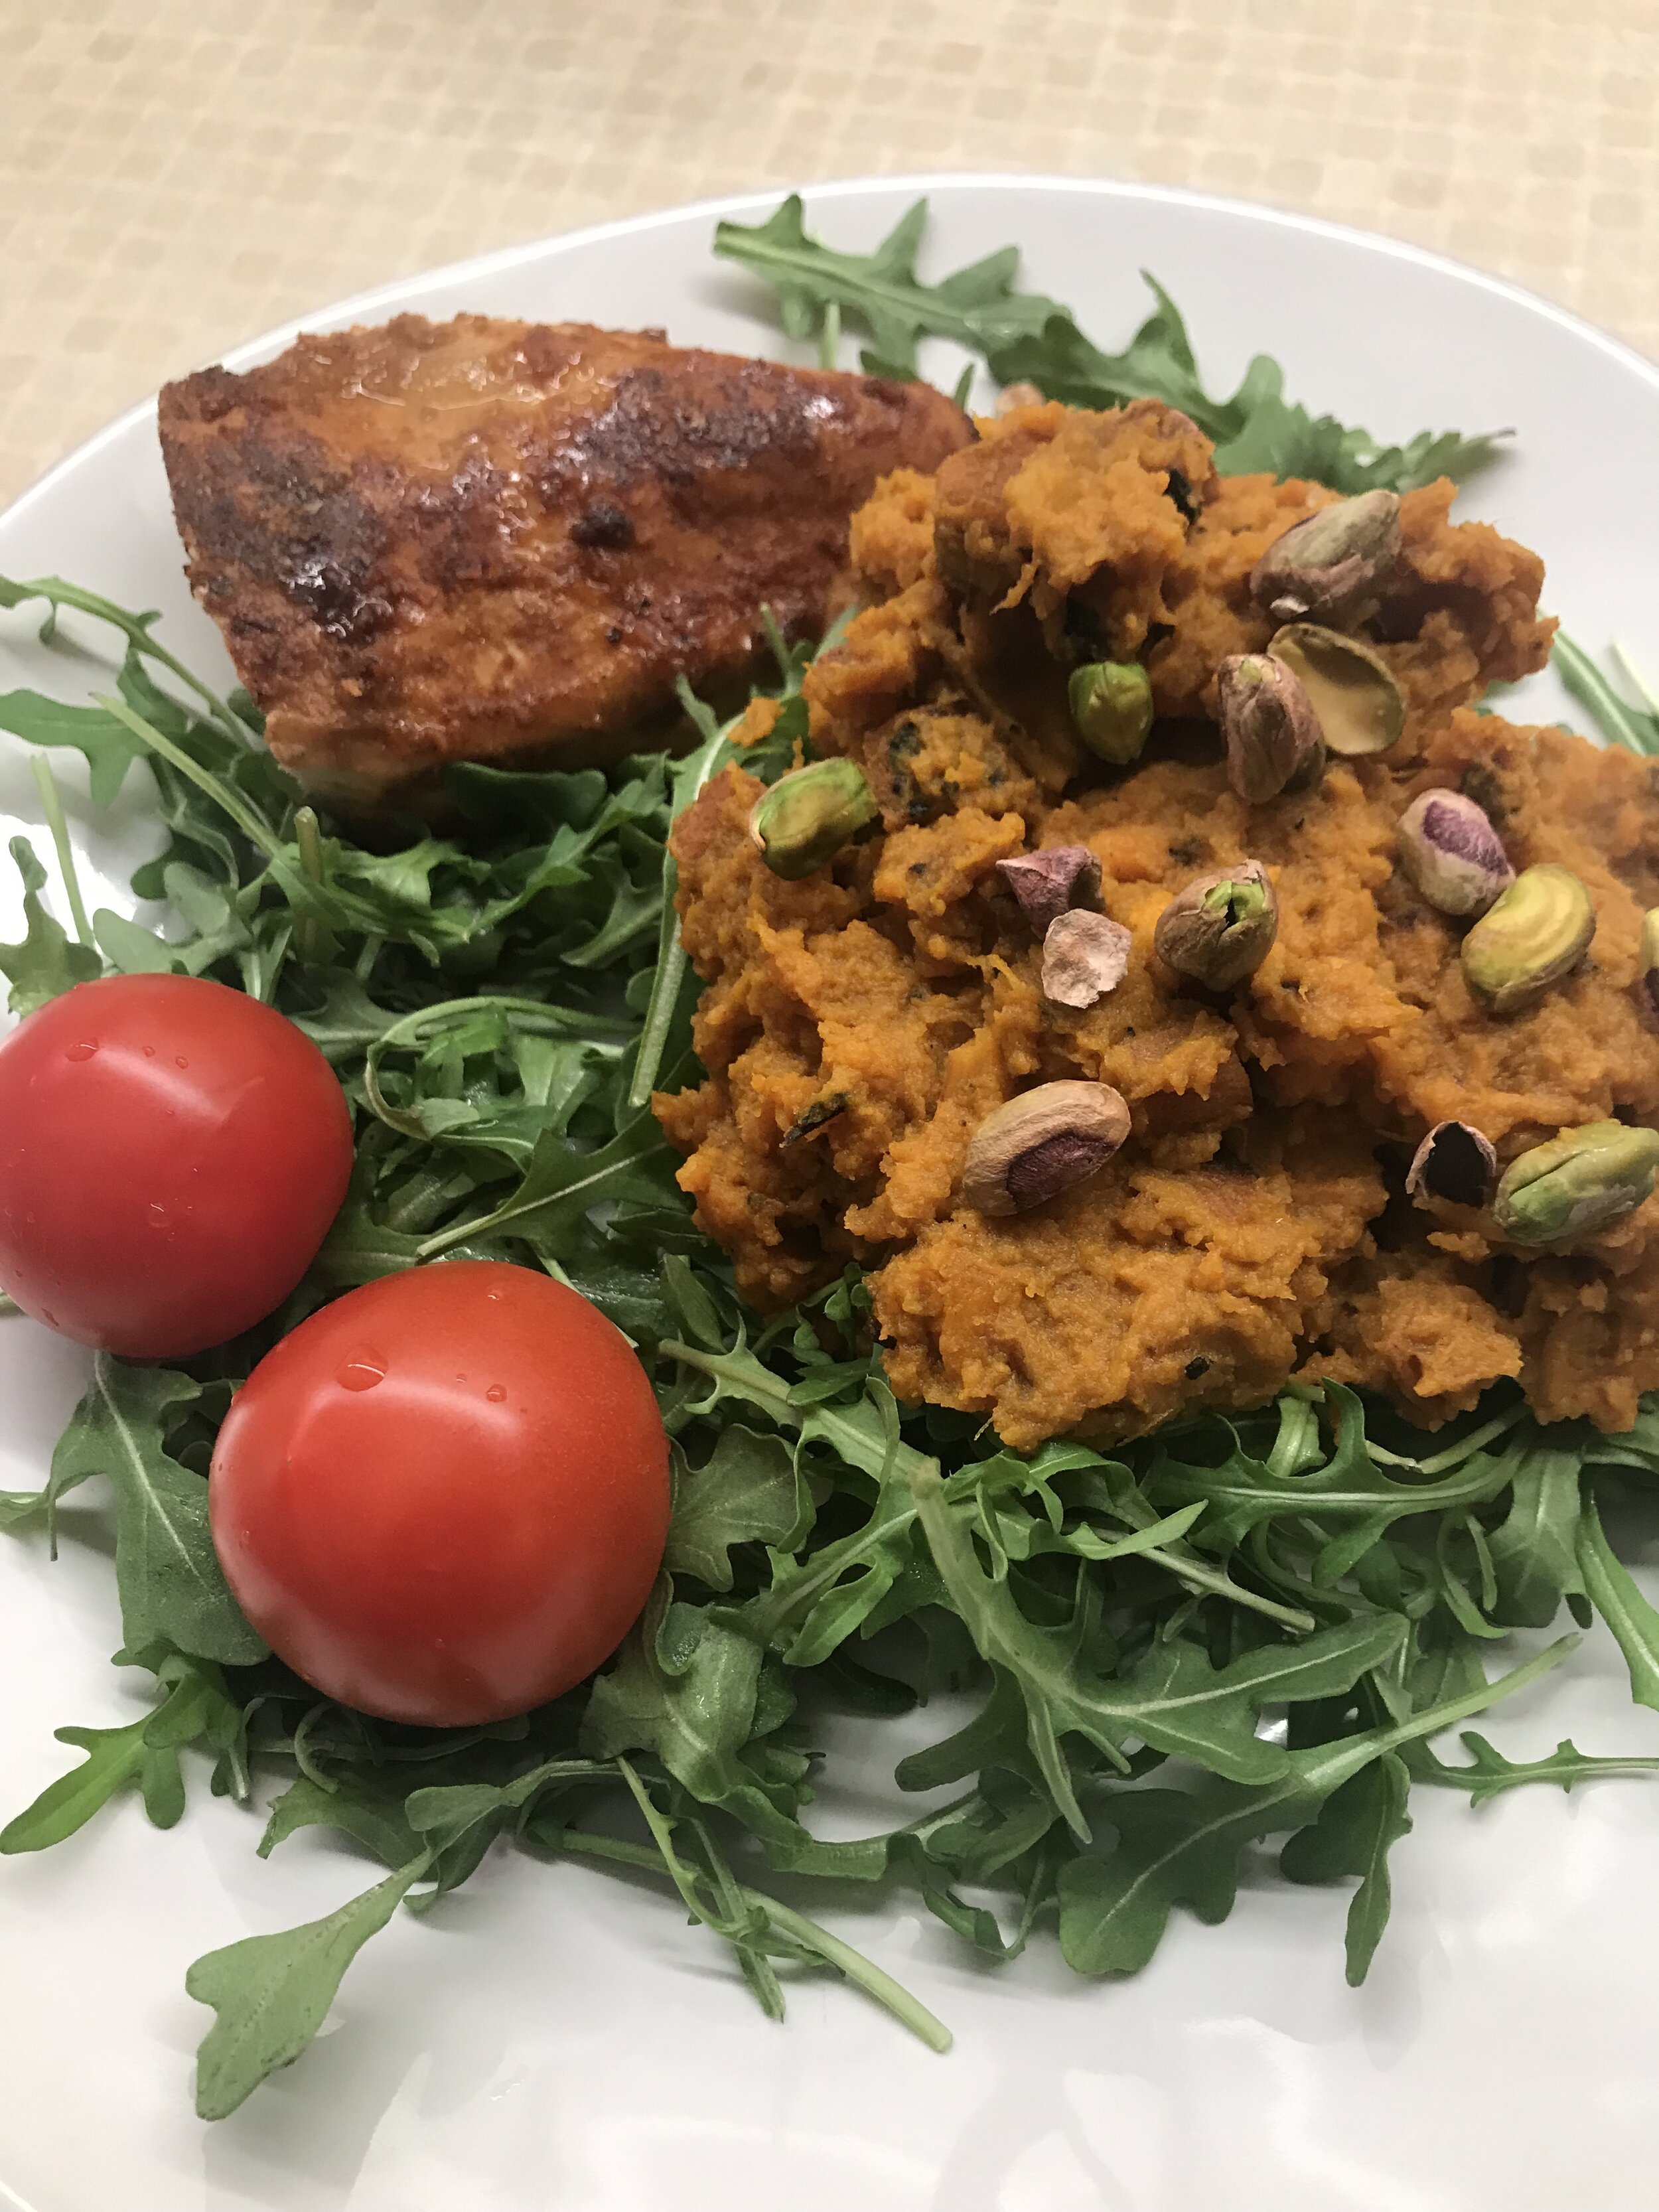
This is one of our favorite ways to make sweet potatoes!!! They not only taste great with all different proteins, they also taste really great leftover. We often serve them with lentils and eggs or with chicken and they taste GREAT with arugula and pistachios on top!! Check ‘em out!!

Turmeric Sweet Potatoes
Ingredients:
3 large sweet potatoes, cubed
1 TBSP turmeric
1 tsp avocado oil
3 cloves garlic, minced
1.5 cup low sodium chicken broth
How to:
Saute sweet potatoes in a large pan with avocado oil. Let them cook until they brown and get soft.
Add turmeric, garlic and chicken broth.
Let mixture simmer for about 5 minutes, or until the sweet potatoes are really soft!
Then, using a potato masher or fork, mash until desired consistency is reached.
Serve with a protein, vegetable, arugula and pistachios!!
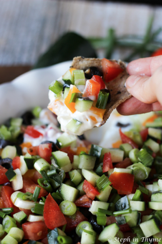
Loaded Veggie Hummus Dip
This season is filled with parties and potlucks!! This is an awesome appetizer to bring to a party to ensure you are getting vegetables and protein!! You could also make this and keep it around to snack on throughout the week.
One note to make about this recipe is to drain the yogurt slightly before adding it in. After this has sat for a bit, it can get a little watery, but draining the yogurt should help this problem!
Loaded Veggie Hummus Dip
Ingredients:

1 16 oz container of favorite hummus
1 cup plain Greek yogurt, slightly drained
1/4 cup diced chives, divided
1/2 cup sliced scallions
1/2 cup sliced Kalamata olives
1+ cup diced radishes
1 orange bell pepper, diced
1 yellow bell pepper, diced
1 red bell pepper, diced
1 cucumber, diced
1+ cup tomatoes, diced
salt and pepper to taste
How to:
Combine Greek yogurts with 2 TBSP diced chives and refrigerate
Chop all vegetables and olives, and place in a large bowl. Mix and season with salt and pepper.
Layer hummus around the bottom of a pie dish or 9x9 square dish. Place Greek yogurt and chive mixture on top of the hummus and spread into an even layer.
Place vegetables on top of the yogurt layer. Top with the remaining chives.
Serve with whole wheat or rice crackers.
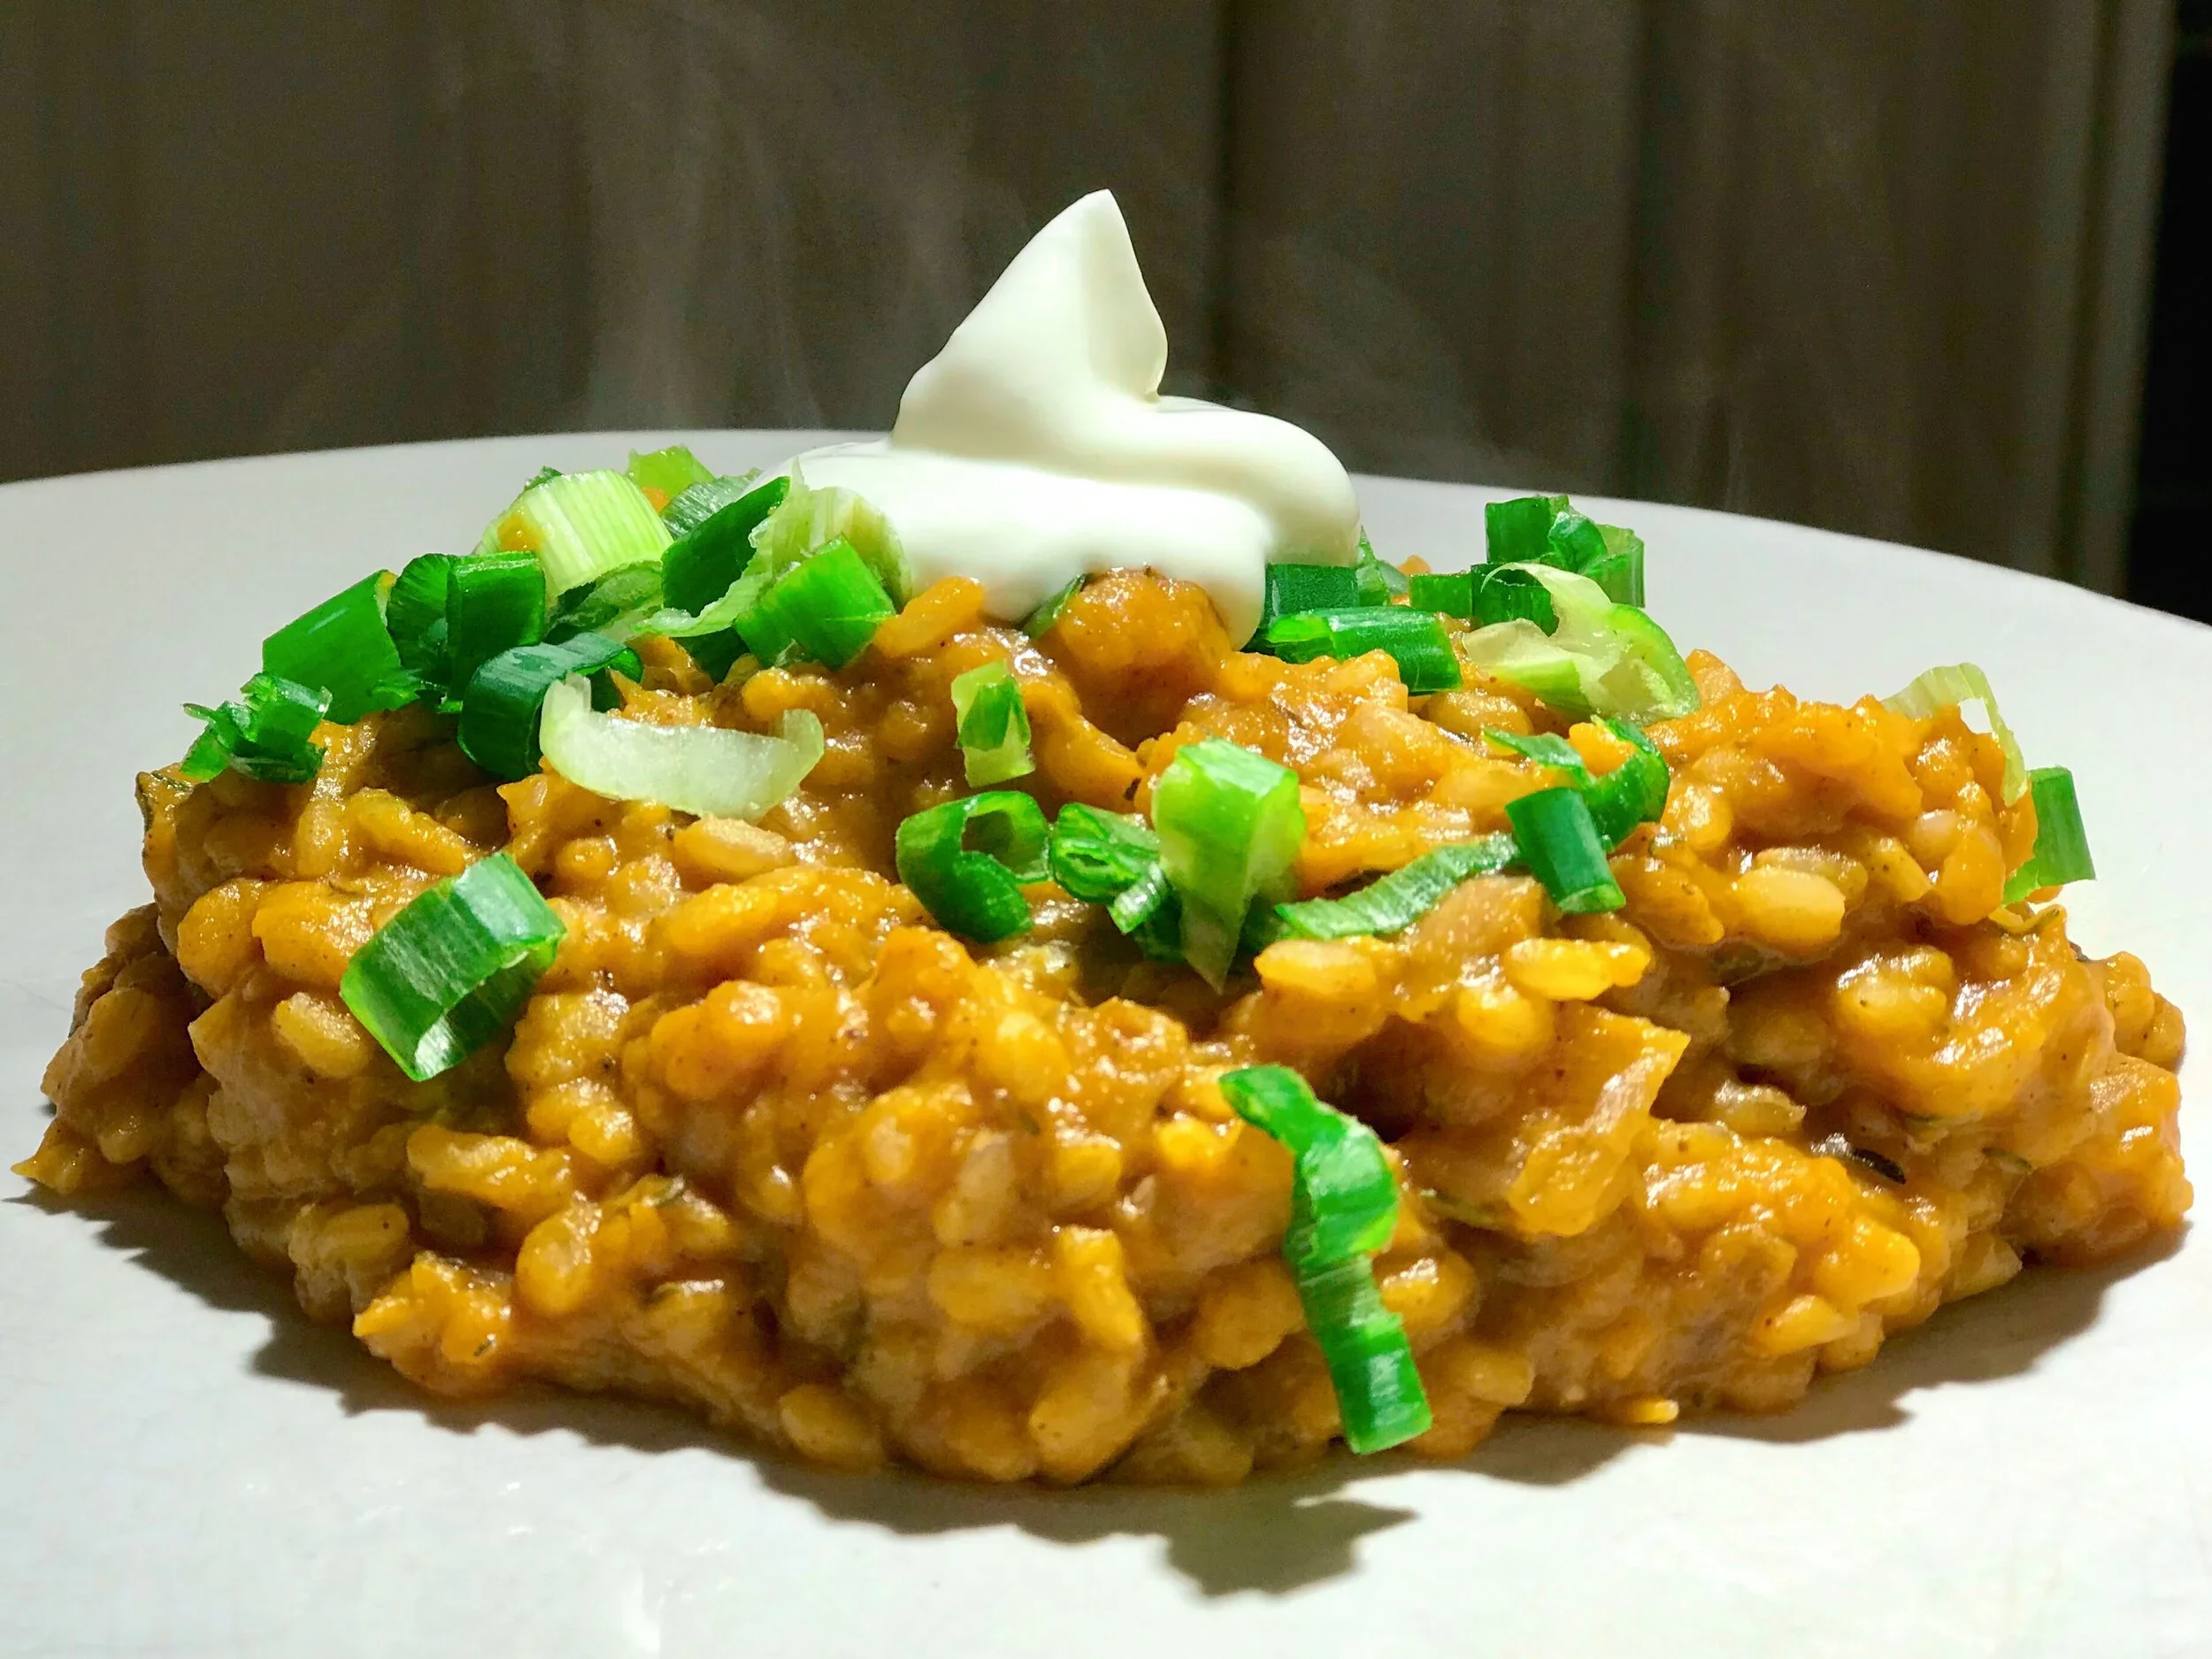
Butternut Squash Risotto
As a dietitian, I get several cool perks, like being an ambassador for companies like Siggis. This recipe popped up on one of their feeds and I couldn’t pass it up!! We adjusted the recipe slightly but are seriously IN LOVE! We made it for the first time last week, but made enough butternut squash that we made it again this week. I am not joking, this is one of those dishes that can be eaten for any meal!!

Here is the recipe:
Butternut Squash Risotto
Ingredients:
1 small butternut squash
1/2 TBSP olive oil
1 tsp cinnamon
1/4 tsp cloves
salt and pepper to taste
10 oz mushrooms, sliced
1/2 TBSP avocado oil/Ghee
1 small white onion, diced
3 cloves garlic, minced
2 cups brown rice
2 cups chicken broth
2 TBSP Siggis Coconut Yogurt (plus some for topping)
Green onion, sliced for topping
How to:
Preheat oven to 425F. Peel and cube butternut squash. Mix with olive oil, cinnamon, cloves, salt and pepper. Place on a baking sheet and roast for 30-40 minutes, or until tender when poked with a fork.
Meanwhile, heat a Dutch Oven or pot with avocado oil. Add mushrooms and onion and cook until softened and browned. Add garlic. Cook 1 minute. Then add rice and broth. Bring to a boil, then cover and reduce heat and cook until broth is absorbed (can add water if more liquid is necessary).
Once squash is cooked, allow to cool. Then puree using a blender, food processor or emersion blender.
Once pureed, add to the cooked rice and stir well. Add yogurt and thyme. (You may have too much butternut squash depending on the size you bought, in that case set aside and use later).
Serve topped with sliced green onion and a dollop of Siggis Coconut Yogurt.
We served ours with pork chops and broccoli the first time and chicken and salad the next :-)
Hope you love this as much as we did!!
Heirloom Tomato Panzanella Salad

Tomato season is upon us!! I am always so amazed at the taste difference between a fresh in season tomato versus one I buy at the store in February! It all of a sudden makes sense to me why they are technically fruits, because I can actually taste their sweetness!!
We received heirloom tomatoes in our LINC Box a couple weeks in a row. Heirlooms are so beautiful and I knew I had to do something fun and special with them. I stumbled across a recipe for panzanella. Now, to be honest, I don’t think I knew what panzanella salad was until this experience. Now I am hooked!! We bought some bread from our local bread shop, The Grain Shed, to use in this salad too! Here is the recipe:
Heirloom Tomato Panzanella

Ingredients:

Here is the bread we used. I had to include a picture because it was SO delicious!!
1 1/2 lbs heirloom tomatoes, chopped in large pieces
10 oz cherry tomatoes, halved
1 cucumber, sliced and quartered
1/2+ red onion, sliced
4 cups crusty bread, chopped in large pieces
1 head basil, chopped
olive oil
2-3 TBSP red wine vinegar
salt and pepper
How to:
Preheat the oven to 300F. Chop the bread into pieces and toss with a little bit of olive oil and salt. Place on a baking sheet and cook for 25+ minutes, or until bread is crusty.
Meanwhile, mix together the heirloom tomatoes, cherry tomatoes, cucumber, and onion.
Add the basil, olive oil and red wine vinegar and carefully mix.
Traditionally, you would mix in the bread pieces, however I didn’t want ours to lose their texture and get moist, so I mixed them in with the servings we were having and kept them separate in storage.
We served ours with Greek flavored chicken!! I also served my leftovers with cottage cheese, and trust me when I say it was AMAZING!

Smokey Anaheim Pepper Salsa: Fresh, Flavorful Addition to Your Meal Prep
Discover this easy Roasted Anaheim Pepper Salsa recipe from a Spokane nutritionist. Perfect for meal prep, this smoky salsa adds flavor and excitement to your protein, supports marathon nutrition, and fits into customized nutrition plans for endurance athletes.

ABOUT US: SPOKANE NUTRITIONISTS
We are a group of registered Spokane dietitians and personal trainers who have a passion for helping you feel in control of your health.
We work mainly with athletes, those with chronic GI conditions, and women in perimenopause and menopause. We create customized nutrition plans to empower and educate you in your health journey.
A Spokane Nutritionist’s Take on Spicing Up Your Protein and Endurance Nutrition
We’ve been loving our LINC Box subscription this summer! Each week, it brings us a mix of fresh, local produce—often things we wouldn’t normally grab at the store. Recently, we received Anaheim peppers, and they quickly became one of my favorite ingredients to experiment with.
Anaheim peppers are mild and flavorful, sitting perfectly between a bell pepper and a poblano pepper in heat. Their subtle spice makes them versatile for everything from tacos to grain bowls. When roasted, they develop a smoky depth that takes any dish to the next level—especially when turned into a vibrant roasted Anaheim pepper salsa.
This salsa is perfect to add to your weekly meal prep to keep your meals exciting and flavorful. It’s also a great way to make your protein—like chicken, tofu, or fish—more enjoyable without adding excess calories or heavy sauces.
As a Spokane nutritionist who helps clients build customized nutrition plans for busy lifestyles, I love recipes that add variety, flavor, and nutrient-dense ingredients without extra work. This simple recipe also fits perfectly into a marathon fueling plan or any nutrition plan for endurance athletes looking to enhance recovery with colorful, antioxidant-rich foods.
Why You’ll Love This Roasted Anaheim Pepper Salsa
Adds smoky, fresh flavor to any meal
Naturally low in calories and high in antioxidants
Great for meal prep and easy to store
Pairs perfectly with grilled proteins, tacos, or grain bowls
Here’s the recipe I chose:
Roasted Anaheim Pepper Salsa

Ingredients
6 Anaheim peppers, largely chopped
12 oz cherry tomatoes
3/4 onion, largely chopped
3 cloves garlic
olive oil
2-3 TBSP lime juice
1/2 bunch cilantro
salt and pepper to taste
How to:

Preheat oven to 425F
Mix peppers, tomatoes, onions and garlic with 1 TBSP olive oil. Place on a baking sheet.
Place the baking sheet in the oven and roast vegetables for 30 minutes, or until slightly browned.
Place vegetables in a food process or blender with lime juice and cilantro. Pulse until it reaches desired consistency.
*When placing hot items in a food processor/blender, make sure you have a place for the heat to escape. I generally hold the lid open using and oven mitt and make sure that the opening is pointed away from my face.
Store in refrigerator and enjoy on anything that salsa tastes good on!
We served ours on taco bowls, quesadillas, eggs and even turkey sandwiches!

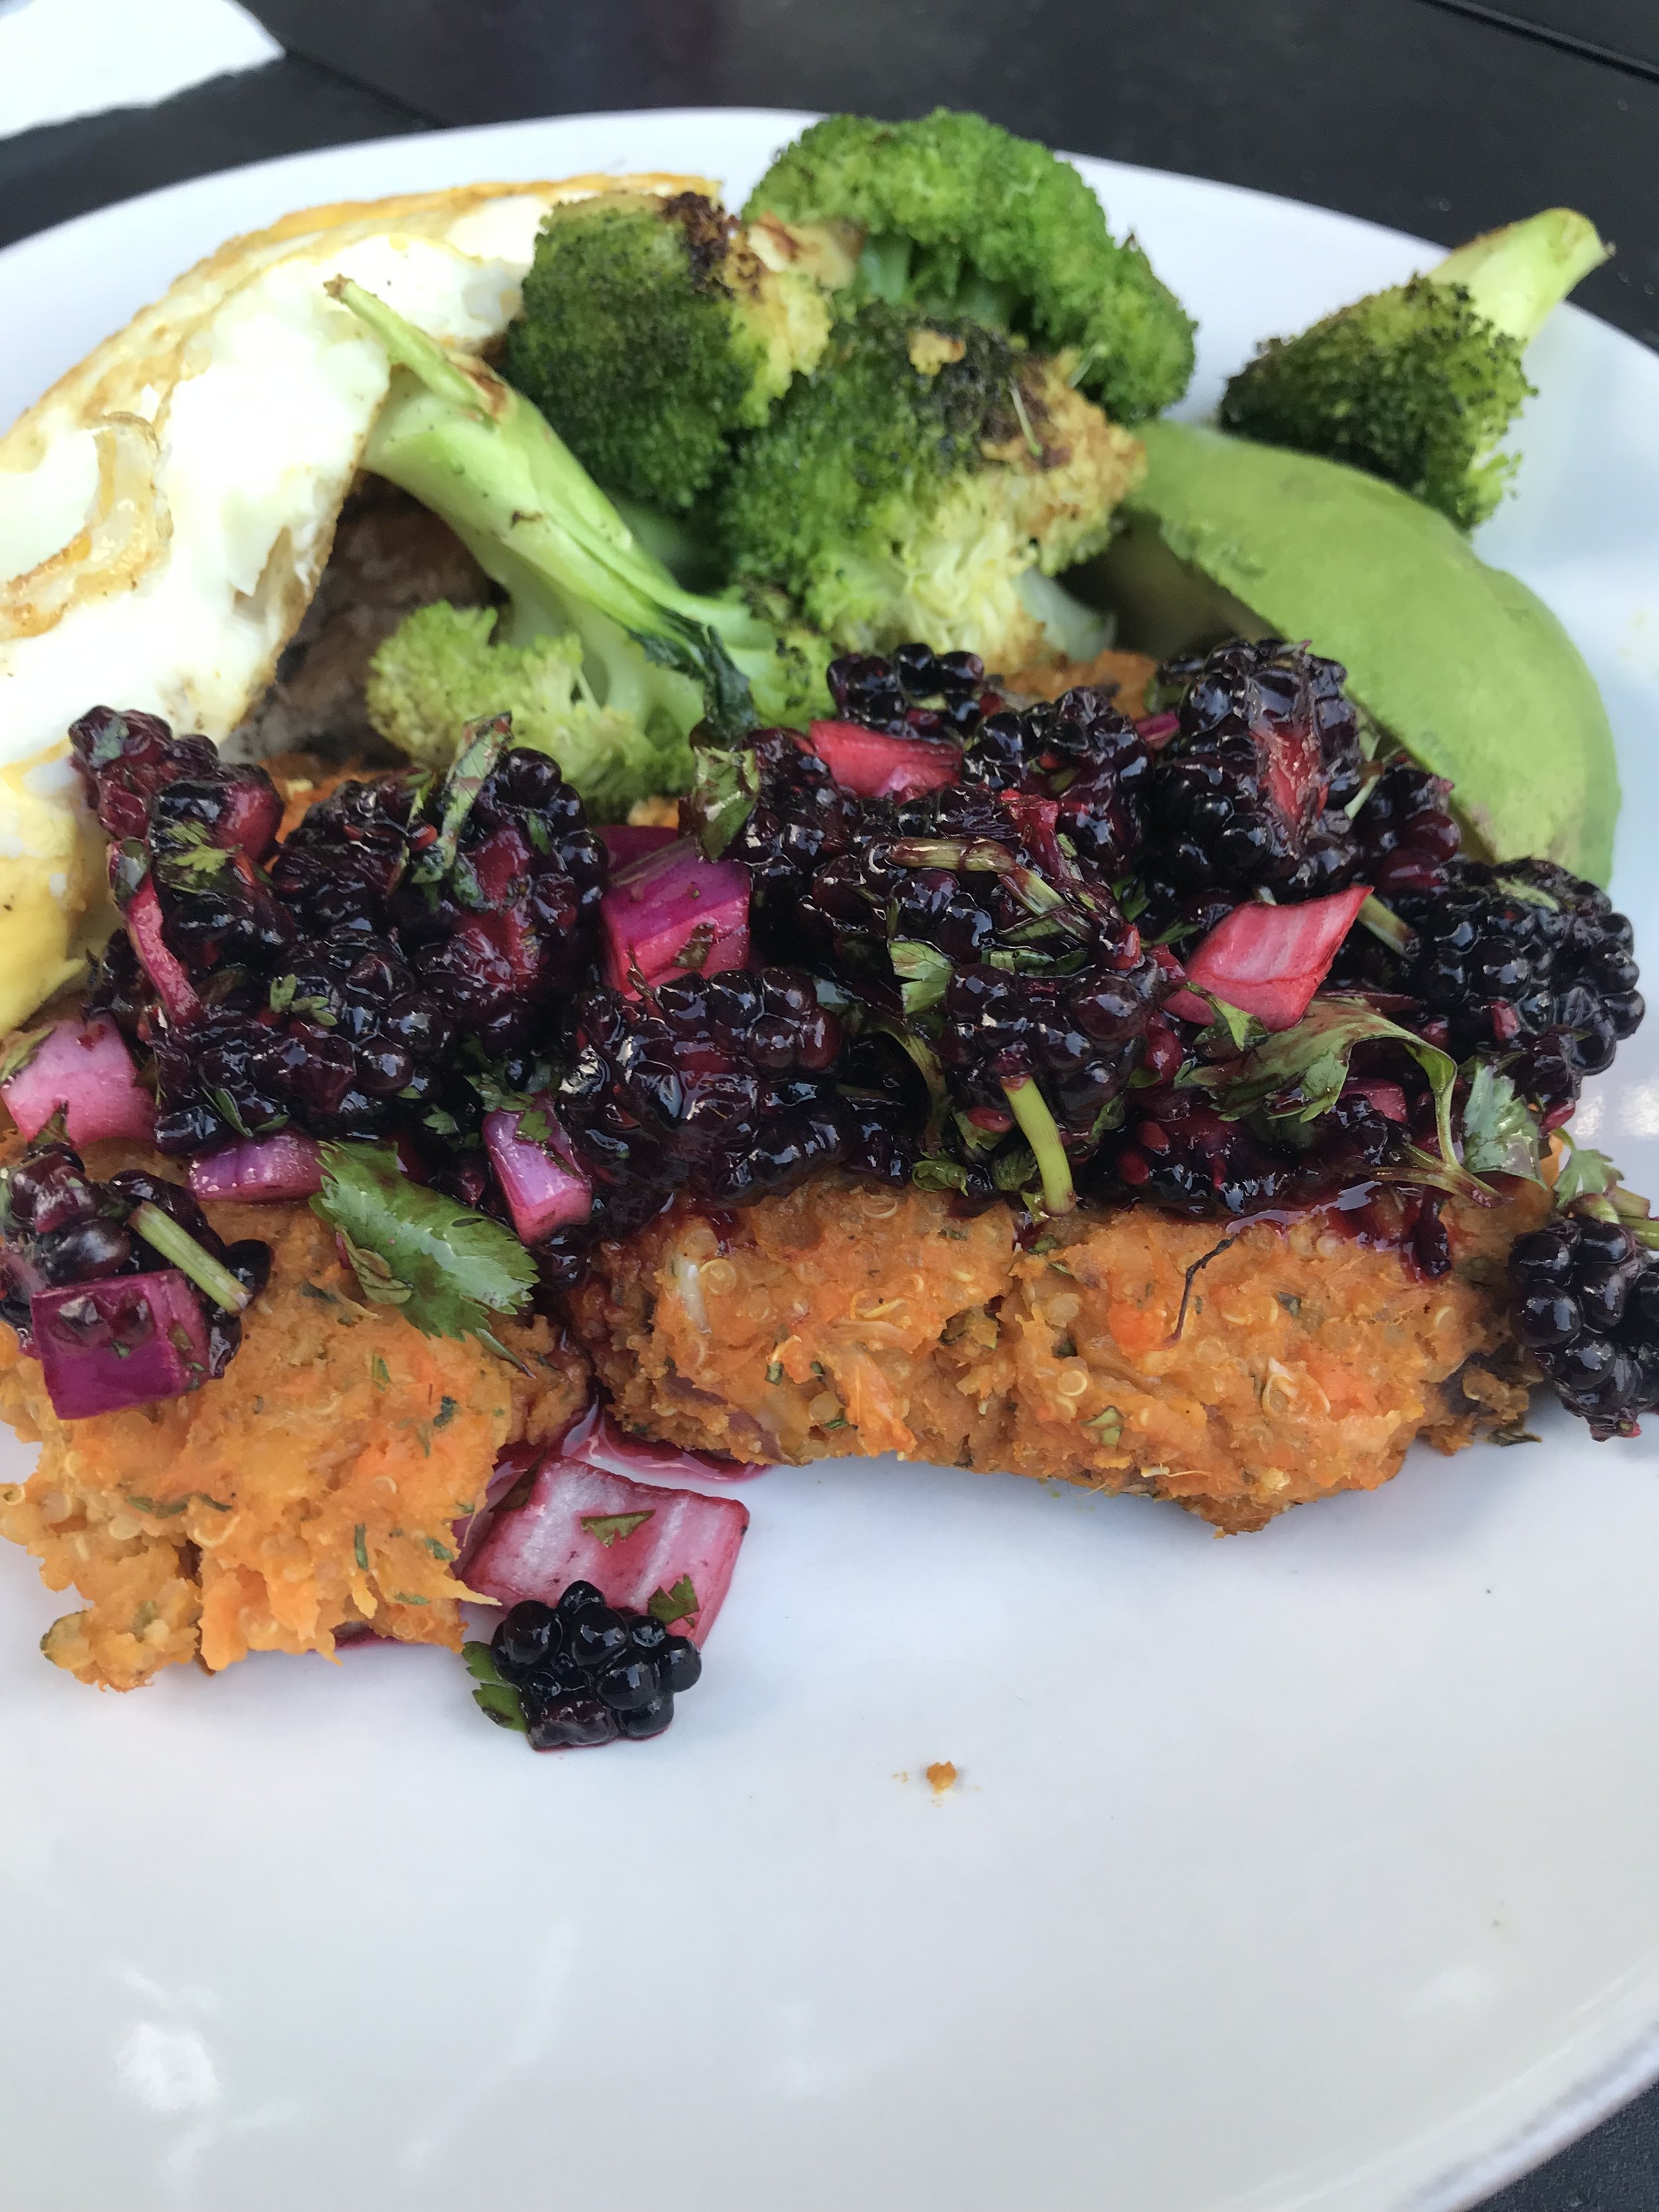
Sweet Potato Cakes with Blackberry Salsa
This is literally one of my absolute favorite meals! It is usually a summertime necessity and I literally scheme ways to have them available at all times! The sweet potato cake portion is a phenomenal mix of flavors, but then you add the blackberry salsa and these are TO DIE FOR!!
This is literally one of my absolute favorite meals! It is usually a summertime necessity and I literally scheme ways to have them available at all times! The sweet potato cake portion is a phenomenal mix of flavors, but then you add the blackberry salsa and these are TO DIE FOR!!
A few tips I have for making them are:
Bake sweet potatoes ahead of time. It is the absolute worst to have piping hot potatoes that you are trying to work with!
Make the quinoa ahead of time too!
Once your form the cakes, put them in the refrigerator for at least a couple hours or overnight. This will make them easier to cook.
Use frozen blackberries if fresh ones are not in season.
Here is how to make them:
Sweet Potato Cakes with Blackberry Salsa
Ingredients:
1.5 lb sweet potatoes
1/2 red onion, diced
3/4 tsp salt
3/4 tsp pepper
3 cloves garlic, minced
3/4 cup cooked quinoa
1/3 cup bread crumbs
1/3 cup grated parmesan cheese
1/4 cup cilantro, chopped
1/4 cup basil, chopped
2 eggs, lightly beaten
1 TBSP Ghee/avocado oil
How to:
Preheat the oven to 425°F. Clean sweet potatoes, and poke holes all around them with a fork. Place in the oven for 45+ minutes, or until tender when pierced with a fork.
Place 1/4 cup quinoa in a saucepan with 1/2 cup of water. Bring to a boil. Cover and reduce heat and cook until water is absorbed. Set aside.
Once potatoes are cooked, let them cool. Then remove the flesh and discard the skins.
Heat a saute pan with 1 tsp Ghee/avocado oil. Place onion and garlic and saute until softened. Mix into the potatoes. Add salt and pepper.
Add breadcrumbs, cheese, cilantro, basil, and egg and mix well.
Form mixture into patties using hands. Place on a plate or baking sheet and refrigerate for at least 2 hours.
When you are ready to cook, heat a saute pan with 1 tsp Ghee/avocado oil. Add patties and cook until golden brown on each side. You may have to work in batches and add oil each time.
Blackberry Salsa
Ingredients:
3 cups frozen blackberries, slightly thawed
1/2 red onion, diced
1/2+ jalapeno, diced
3/4 cup cilantro, chopped
1 1/2 TBSP lime juice
salt and pepper to taste
How to:
Combine all ingredients in a bowl.
Serve patties topped with blackberry salsa. We often pair these with eggs and vegetables!

Thanksgiving Side Dish
Happy Thanksgiving!
The holidays are such an interesting time in the food world because there is such a stigma around gaining weight and overindulging during the season. I love that food brings people together! But I hate that people feel stressed all season long about what they can and can’t eat.
So, here is my golden holiday eating advice: if it is worth the splurge, then splurge BUT you better allow yourself to enjoy it. If it is not worth the splurge, then choose a better option.
For example, I LOVE desserts but know I can go without the alcohol. So, I generally choose to indulge in a good dessert and drink water instead of alcohol. But, that is just me. There is no right way to do it, but it does take some forethought to think about what your non-negotiables are over the holidays.
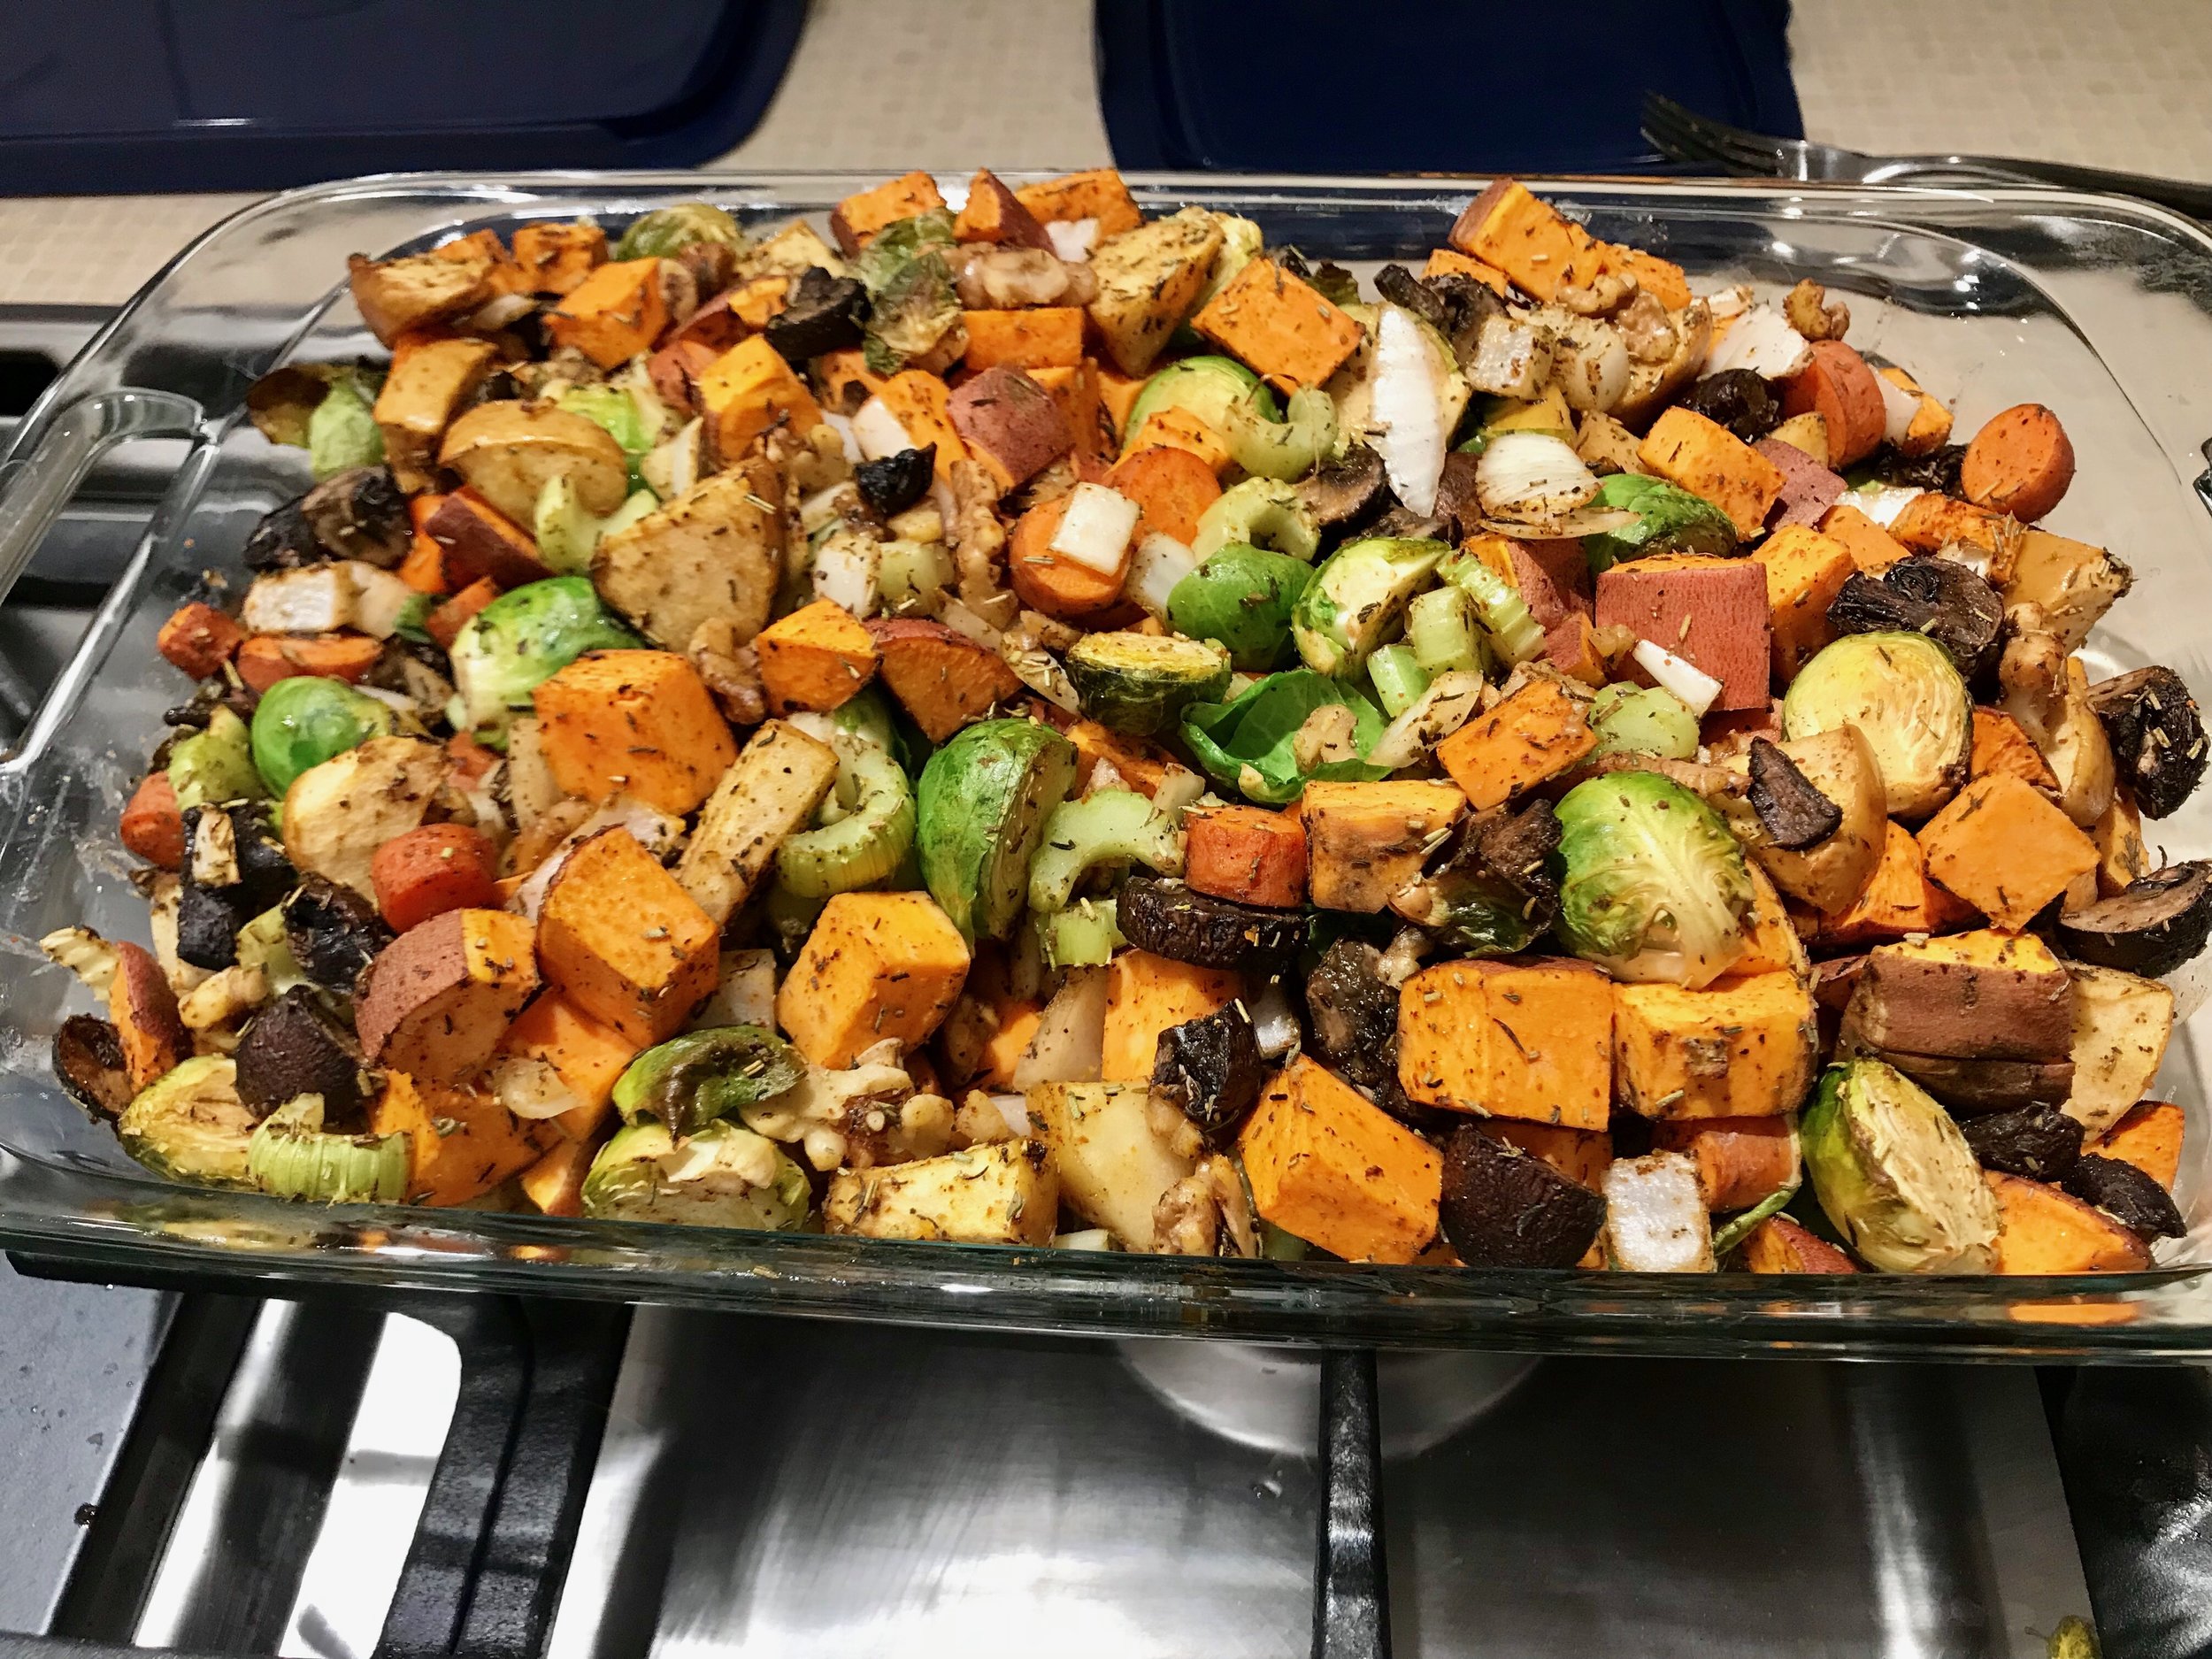
I did want to share this awesome sweet potato stuffing. If stuffing is not your thing over Thanksgiving, give this one a try. If it is your thing, you enjoy your traditional stuffing :-)
Sweet Potato Stuffing
Ingredients:
2 sweet potatoes
2 cups halved Brussel Sprouts
3 large carrots, sliced
3 celery stalks, sliced
1/2 medium yellow onion, chopped
6 oz mushrooms, sliced
3 cloves garlic, minced
1 medium apple, chopped
2 tsp thyme
2 tsp rosemary
1 tsp chili powder
3/4 tsp salt
3/4 tsp pepper
1/2 cup dried cranberries
1/3 cup pecans, chopped
2 TBSP olive oil
How to:
Preheat oven to 425F.
Combine all ingredients in a large bowl and toss with olive oil
Transfer to a baking dish and cover with foil. Cook for 45 minutes. Remove foil and cook for an additional 20 minutes, or until sweet potatoes are cooked through.
Enjoy!

Eat Seasonally: January Edition
I know January is almost over, but I found this really cool list of seasonal foods and wanted to share one of our favorite recipes using a few vegetables you may not have ever heard of: rutabaga, parsnips, & turnips.
First off, I want to talk about a few of the benefits of eating seasonally:
1. You are eating the food in its prime state:
This means it is ripe and loaded with vitamins and minerals. It hasn't been stored in a gas filled vacuum for months- like a lot of non-seasonal food. This also means... it tastes better!
2. Seasonal produce is generally cheaper:
When it is abundant, prices are low. Simple supply and demand concepts.
3. Seasonal produce can match the needs of the season:
You will notice the winter fruits contain a lot of citrus- which is beneficial in boosting your immune system and helps to fight off colds and flus. Winter vegetables are generally more starchy which works well in warm soups and stews and some of our favorite comfort foods.
So, here is January's list: (you can eat these in February too!)

Most of January's vegetables grow in the ground so they can withstand the harsh climate of winter. They are generally more starchy, so can take that role on when you are building meals with them.
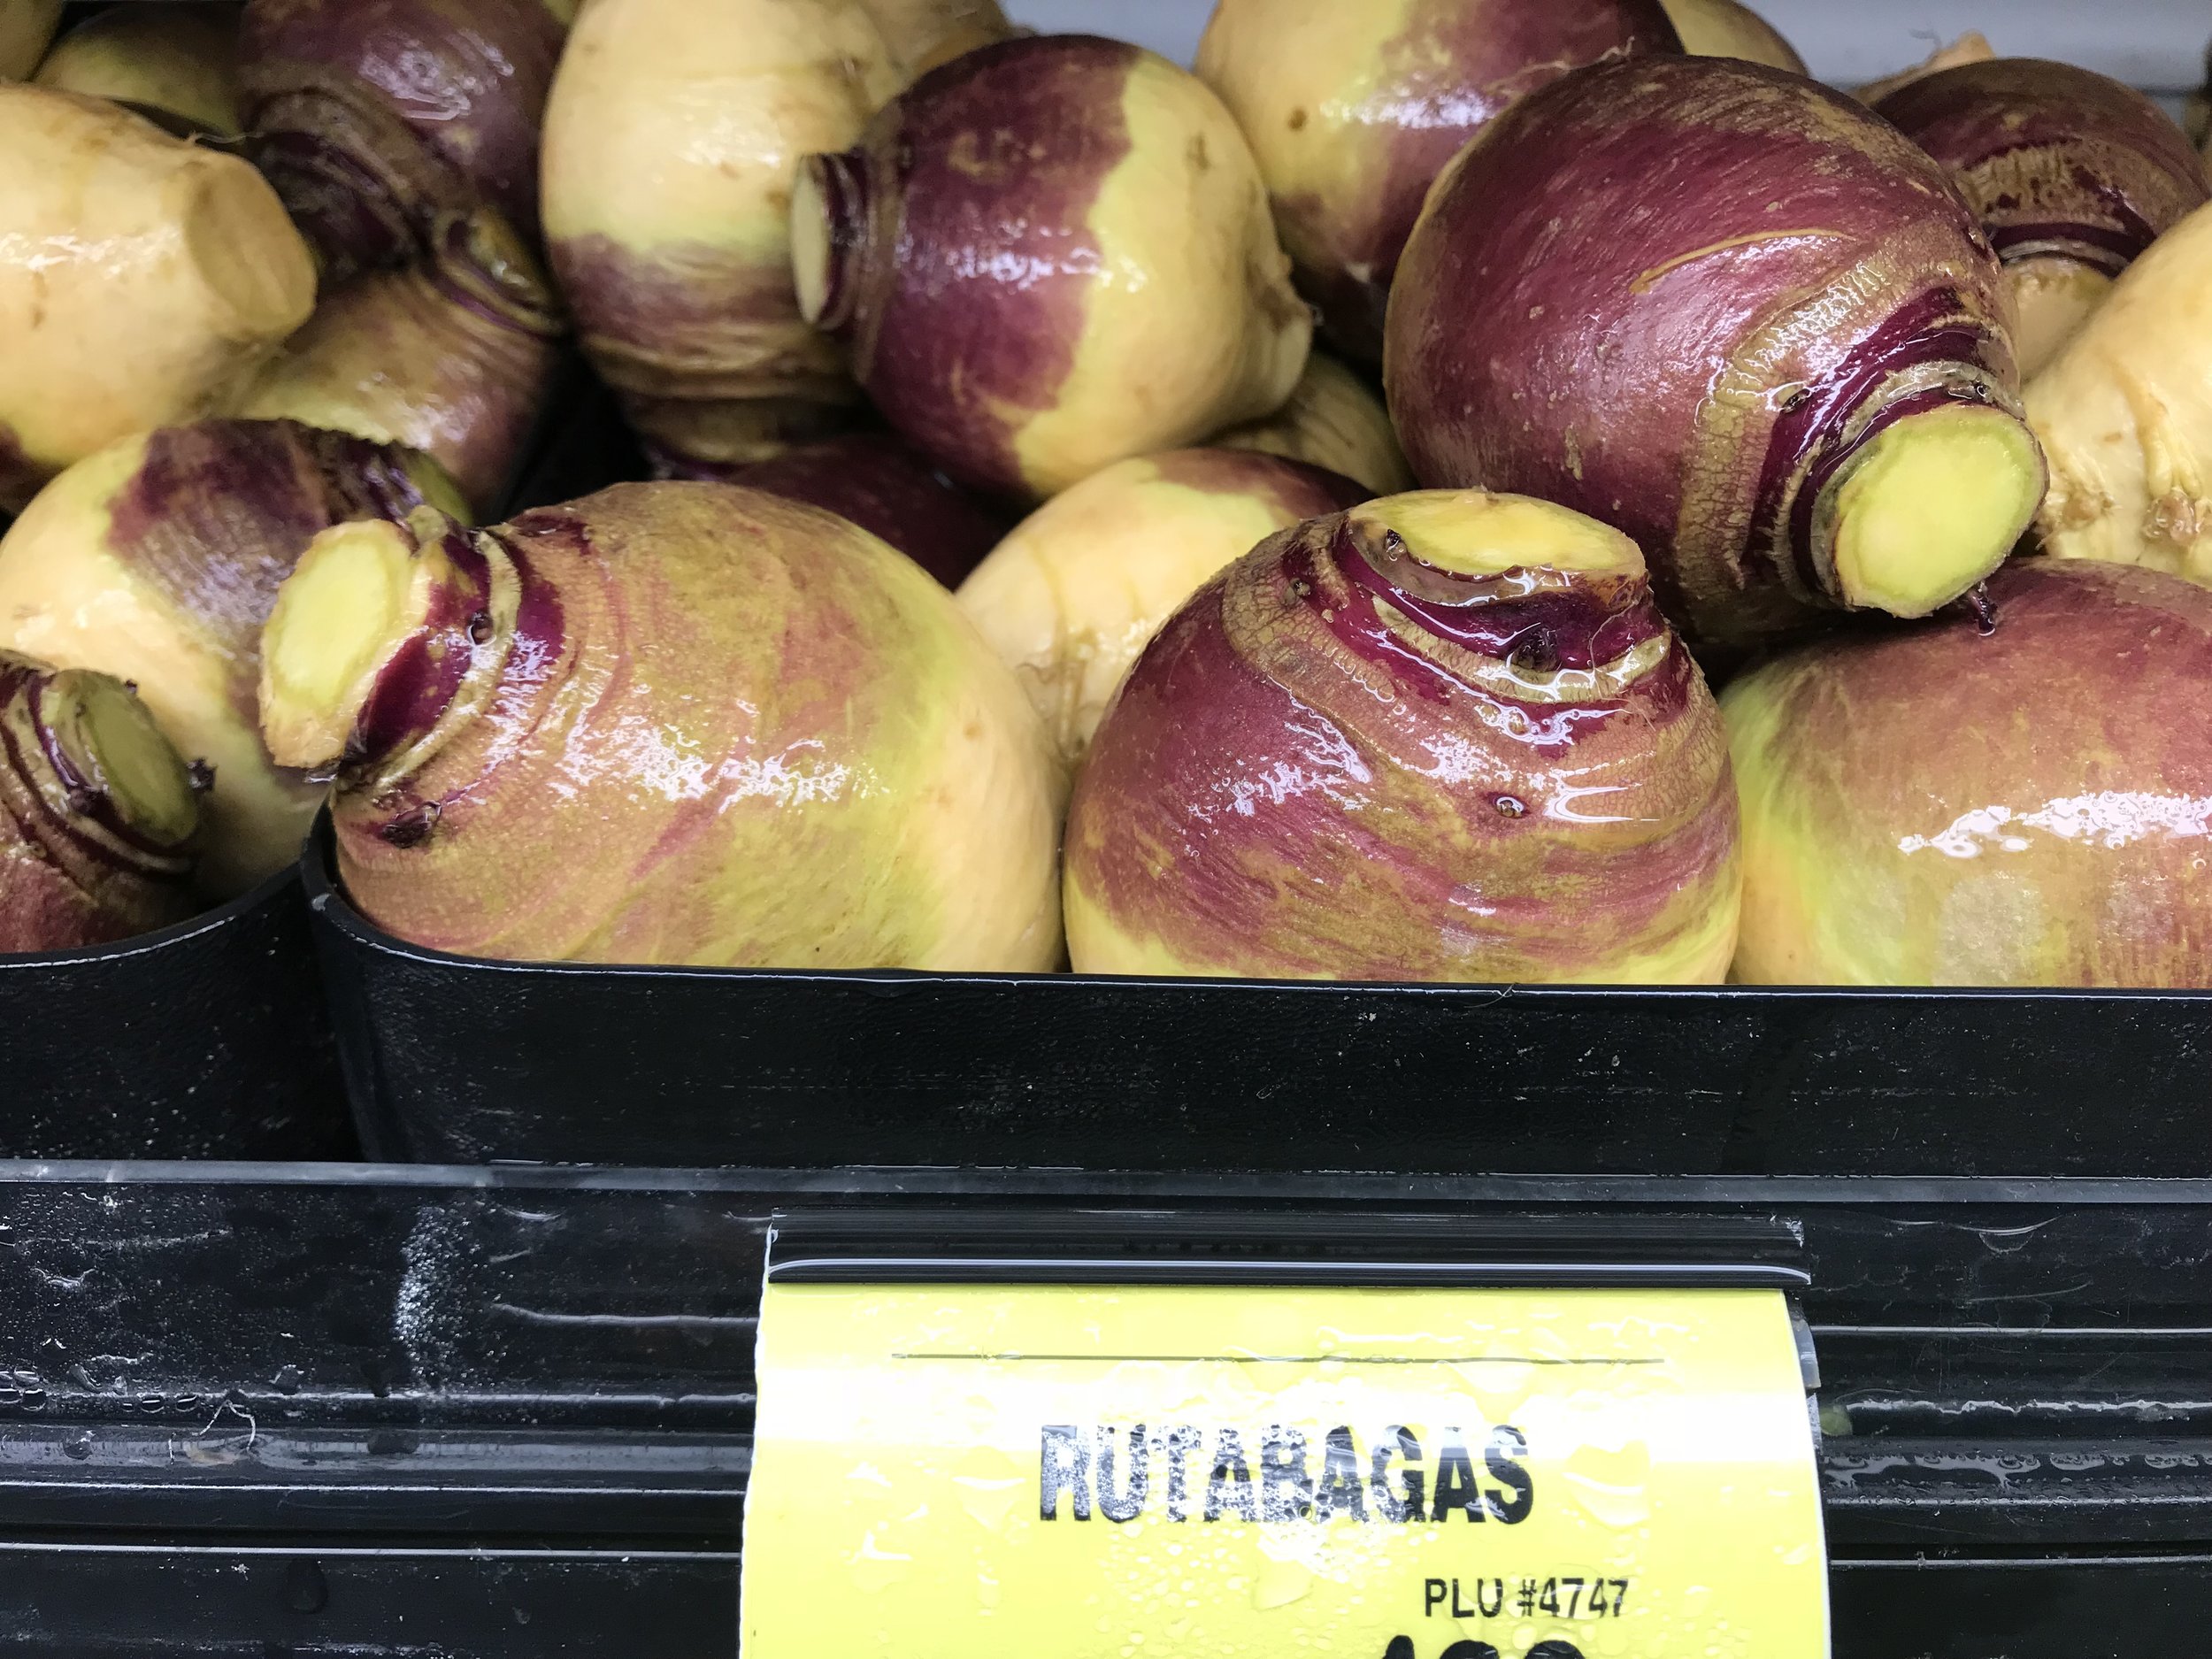
One of our favorite easy recipes is roasted rutabaga, turnips, parsnips and carrots. These are probably vegetables you have 1. never heard of before or 2. have horrifying childhood memories of your parents threatening to make you eat them. The second reaction probably only happened because their names are weird, because they are actually all very sweet and delicious! Here is what they look like:


Here are the details:
Roasted Winter Vegetables
Ingredients:
3 rutabaga, cut into bite sized chunks
3 turnips, cut into bite sized chunks
4 parsnips, sliced
4 carrots, sliced
Olive oil
Salt, pepper, garlic powder, rosemary
How to:
Preheat oven to 425F.
Place vegetables in a bowl and toss with olive oil, salt, pepper, garlic powder and rosemary
Place vegetables on a baking sheet and cook for 25-30 minutes, or until tender when pierced with a fork.
Serve with a protein and vegetable!
YUM! Enjoy!!
